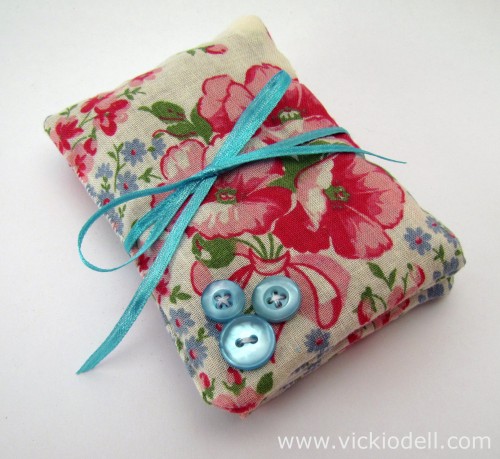
How to Turn Vintage Hankies Into Sweet Smelling Sachets
I’ve been doing a mini clean & purge in my studio lately. Trying to use up lots of vintage goodies I’ve had lying around for a while. I created these Vintage Hanky Sachets last fall and even made a video about how to do it but then forgot to share with YOU. Duh!
By the way, I’m cleaning and purging AGAIN. It’s an ongoing cycle. Acquire, make, make messes, clean, purge. Do you do that too?
Anyway, I STILL have quite a stack of vintage hankies here. Most of them from “The Great Mother In Law House Clean Up of 2010-2012”. I’ve written about the process of cleaning her home out and some of the things I’ve brought home and/or created with here, here, here, and here.
Anyway (again).
Here is some tips I’ve learned when using Vintage Hankies:
- If they are stained and the stains won’t come out try tea staining them. Just brew up a batch of really strong tea (Or coffee if you want them extra dark) and once the water is cooled soak the hankies for 3 or 4 minutes. Pull them out and rinse well. If they aren’t dark enough you can put them back in the water a while. The idea here is to camouflage the stains by making the whole thing dark. Plus it makes the fabric look EXTRA vintage.
- Small holes can either be patched with a little needle and thread or a bit of fabric or a button or two. You can also cut the sachet to a smaller size to avoid holes. If the hanky is a “cutter”, that is, basically useless except for a corner or two go ahead and save the corners. You can always use them to embellish another sachet.
- The fabric of very old hankies can be quite fragile and thin so be careful. You may want to create the sachet out of muslin and then just “face” one side of the sachet with the hanky. This way you still get the vintage look but it’s a more sturdy sachet when finished.
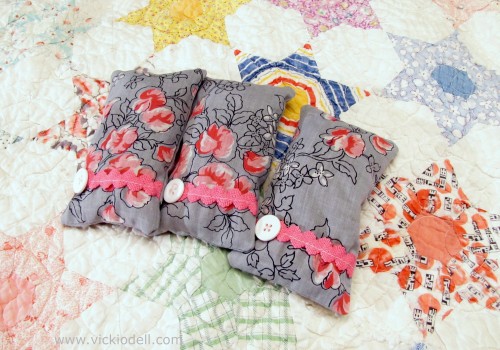
Steps:
Launder and iron hankies
Tea stain if needed and patch holes
Cut hankies to desired size
Embellish the front of the hankie as desired. You can use ribbon, buttons, doilies, paper, silk flowers… pretty much anything that will stay still long enough.
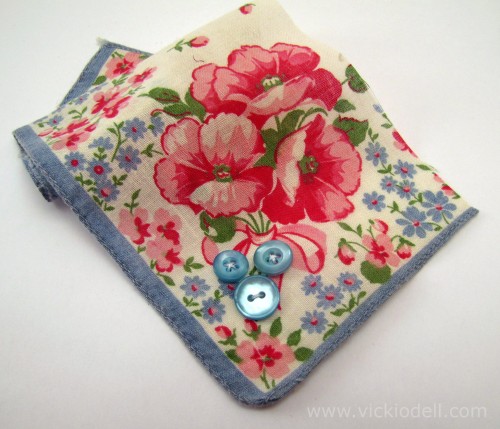
With right sides together stitch a 1/4 inch seam allowance leaving a small opening in one side for turning and filling.
Trim the corners and turn right side out
Fill with your favorite dried herb. Be sure the herbs are quite dry so they won’t mildew in your sachet. You can use almost any herb that you like the fragrance of. My personal favorite is lavender.
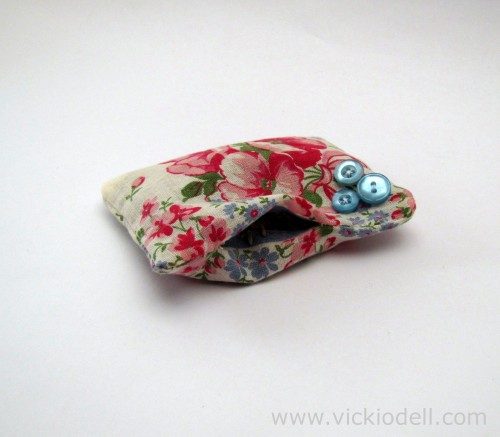
Stitch the opening closed. Use a stitch that isn’t super small so that you can open the hanky and change out the herbs if you want.
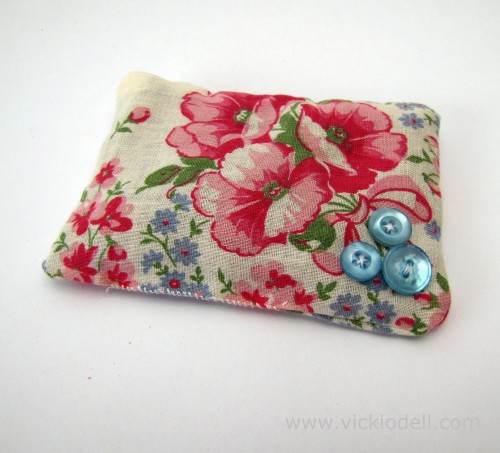
And if you don’t have vintage hankies on hand I’ve got several listings for the Vintage Hanky Sachets in my etsy shop.
And here is the video for you to watch:
