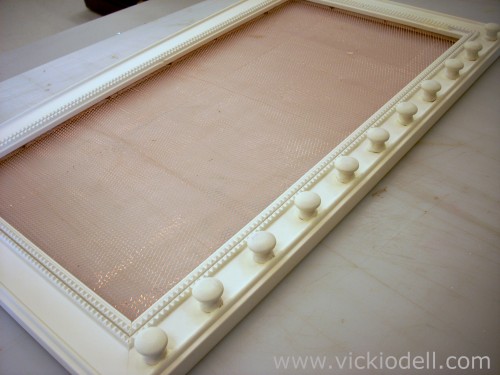
There is still time to make this great Picture Frame Jewelry Organizer for your Mom if she is a beader. I’ve been making a lot of jewelry lately and don’t have any place to put it all. (It’s really starting to pile up!) So I came up with this project to help me organize and display my jewelry. I think it would be a great Mother’s Day gift too!
Supplies:
- Picture frame, new or used…doesn’t matter as long as it’s sturdy
- Stapler – the heavy duty kind
- Wooden drawer pulls/door knobs
- Paint – DecoArt
- Rub n’ Buff – AMACO
- Wire Form wire (I used copper) – AMACO
- Gloves
- Old sscissors or wire cutters
- Thick wooden dowel rod
- Hot glue gun and glue sticks
- 2 Saw tooth hangers
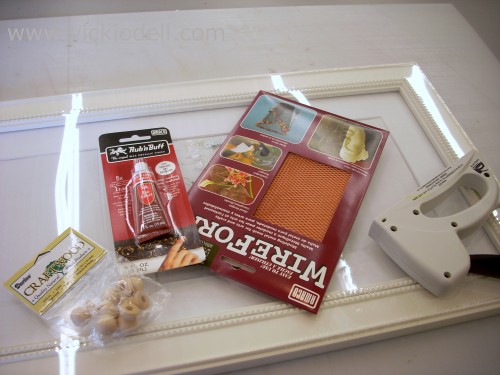
This frame is a 10×20 and is almost too wide for the Wire Form wire so I had to stretch it a bit. Also be careful when working with the wire. I scratched my hands up pretty good…wear gloves. Be smarter than me. 🙂
Prep the frame as needed. Sand, paint, glue…whatever you need to do to get it ready to work with.
Unfold the Wire Form wire and smooth it out. The best thing I found for doing this was a thick wooden dowel rod. I just rolled it back and forth a few times like a rolling pin. An actual rolling pin might be good too.
Using the stapler and starting at the middle of one of the long sides staple the wire into the recess in the back of the frame. Go to the middle of the opposite side and while gently pulling on the wire staple the wire on that side in the middle. Put a couple of staples in on each side of the center staple on each side. Do the same thing on the ends. Once the wire is centered then continue stapling all around. Cut the excess Wire Form with wire cutters or old scissors. It’s not a heavy gauge wire and you can use scissors but don’t use your good ones for heaven’s sake! Bend the edges of the copper mesh down…I used the end of the wooden dowel. As an extra precaution to keep the wire edges from scratching my newly painted walls I went over it with a bead of hot glue. (Is there anything you CAN’T use hot glue for?)
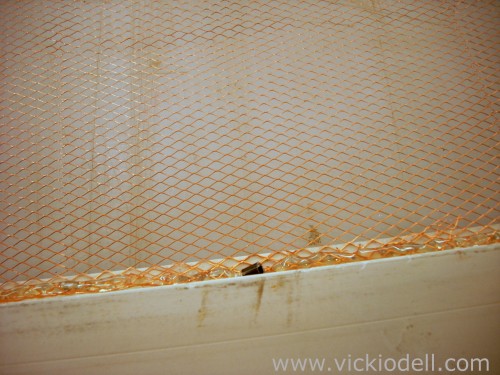
Attach the two sawtooth hangers to the back of the frame for hanging. Turn the frame over and attach the door knobs/drawer pulls with a hot glue gun. I measured from the middle and spaced them evenly from there for a balanced look.
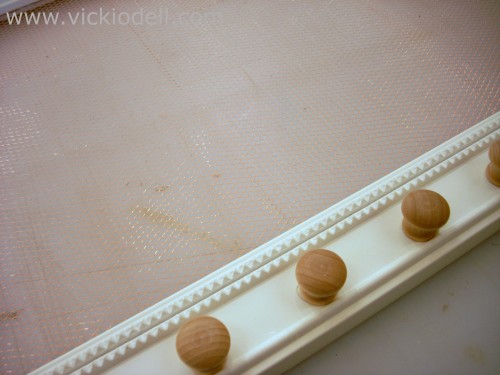
Once the glue has dried you can paint the knobs to match the frame and rub the Rub n’ Buff into the frame following package instructions. This step is optional.
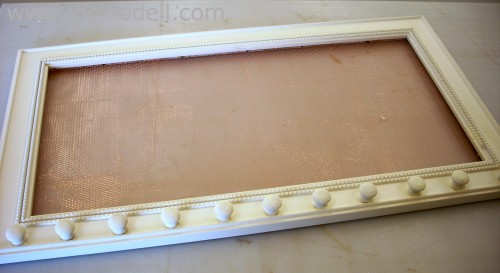
Once it’s all dry it’s ready to hang. The wire mesh will hold all of the earrings made using earring wire (not clip-ons or post earrings) and the knobs will hold necklaces. You can put as many or as few knobs on the frame as you like. Try decoupaging, crackling, layering or other ways to paint and finish your frame. Use any size frame and different colors of wire mesh. This is a project that can be personalized to fit your mom’s decor and personal style. Make one for yourself while you’re at it!
