
Just in time for kids camps, day care, summer vacation, vacation bible school, art camps and other summer fun you and your children might be into.
Or projects you need to keep your kids busy at home in your own back yard… Sharpie Tie Dye.
Easy, relatively inexpensive, especially for small groups and a project that can take up a lot of time if you encourage your kids to take their time and really put some work into their artwork.
Supplies:
- Sharpies (the more colors the better, but the metallic ones don’t work well)
- Cups – keep in mind that a plastic cup will stain so you may want to use a disposable one
- Rubber bands (1 per cup)
- Rubbing alcohol in a bowl or cup and eye dropper (1 per person)
- T-shirt to dye

There are a couple of ways to do this:
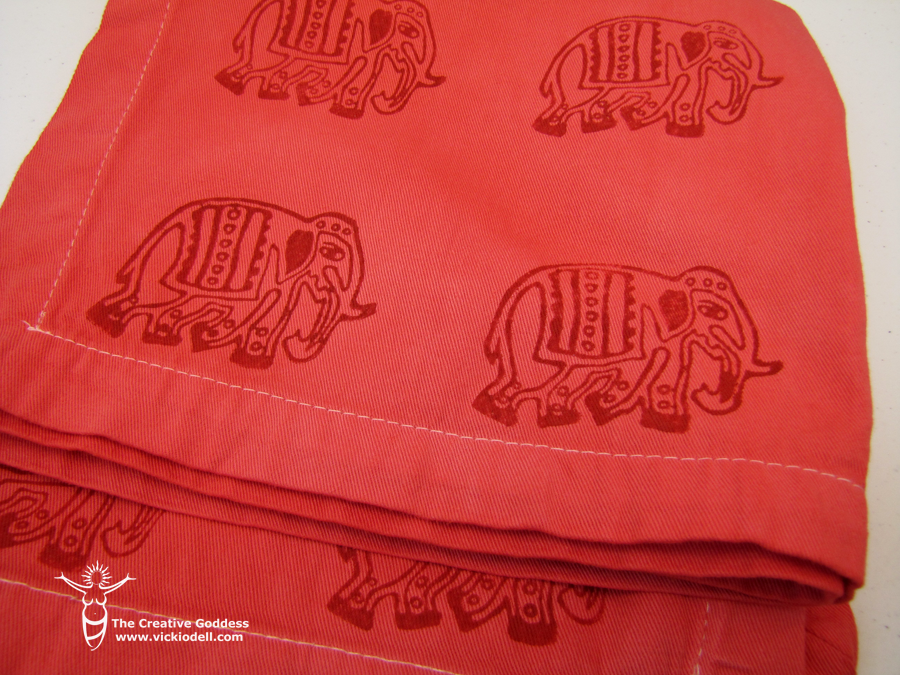
- Put a cup under the fabric — open end up — and secure with a rubber band as shown in the photo above.
- Draw your design in the center of the fabric stretched over the cup.
- Slowly drip the rubbing alcohol with the eye dropper, one drop at a time, in the center of the drawing. You won’t need very much. Watching the ink spread and mix is the fun part!
- Allow it to air dry for a few minutes.
- Repeat until you like the way it looks.


The second technique that I’ve used:
- Lay out the T-shirt on a protected work surface.
- Draw your design
- Place the design over the open end of the disposable cup and secure with either one hand or a rubber band.
- Slowly drip the rubbing alcohol (one drop at a time) in the center of the circle. You won’t need much, so go slowly. Watching the ink spread and mix is the fun part, don’t rush it.
- Allow it to air dry for a few minutes.
- Repeat.
- This technique allows you to make much bigger designs

Tips:
- Prewash and dry shirts without fabric softener.
- Heat set the material, after it has air-dried throughly. The best method I’ve found for heat setting is 15-20 minutes in a clothes dryer.
- When in doubt about a color combination or the final look, add a little black or draw over top and DON’T spread the ink
- Most of all, just have fun with it, be willing to experiment and let your creativity shine!
On Pintres, your blog called it “sharpie part 2”. I can’t seem to find it on your blog.
Is this what you are looking for Em?
https://vickiodell.com/sharpie-tie-dye-part-two/#sthash.XXtPB5jo.dpbs
Hey that’s great! If you have any questions just shoot an email out and I’ll do what I can. Let me know how it goes…if you get photos send them along and I’ll post them! 🙂
What a great project, Vicki. I can’t wait to try it out in the noon-hour program I teach at my son’s school.